Having my roommates move out a few months ago was a surprisingly emotional experience, but one bright spot of the transition was that Ryan and I got the perfect chance to redecorate.
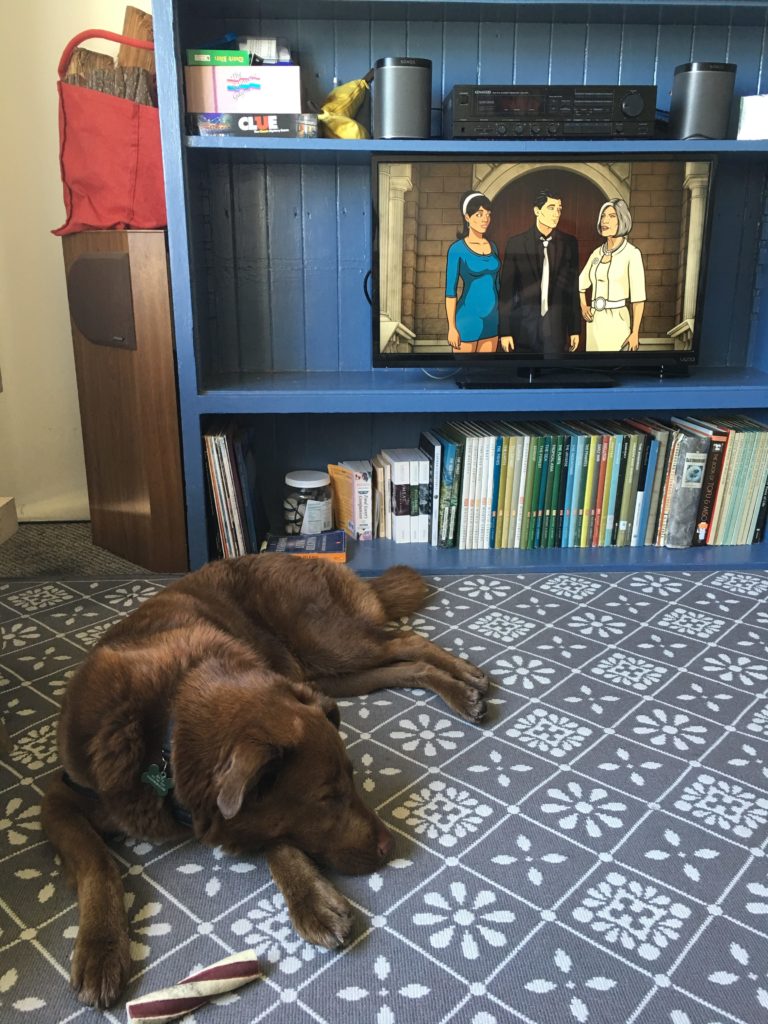
I’ve lived with other people’s ragtag furniture for eight years, maybe more. There was never a good time to redecorate, even when I became the master tenant. My roommates taped up old maps, strung up Christmas lights, and there was a leftover super heavy and hideous couch. There was also a large bookcase/entertainment center thing. It was very college dormroom.
I have an aversion to spending big money on furniture, it makes me antsy just thinking about how I’ll get rid of it in the future. I also thought that I was going to be moving, so there was no point. One time about a year and a half ago, Ryan and I tried to redecorate the living room. One of the roommates seemed unusually upset by the idea of change, so we put it off.
But shifting to new roommates meant a fresh start. Ryan especially wanted to throw everything out and redecorate from scratch.
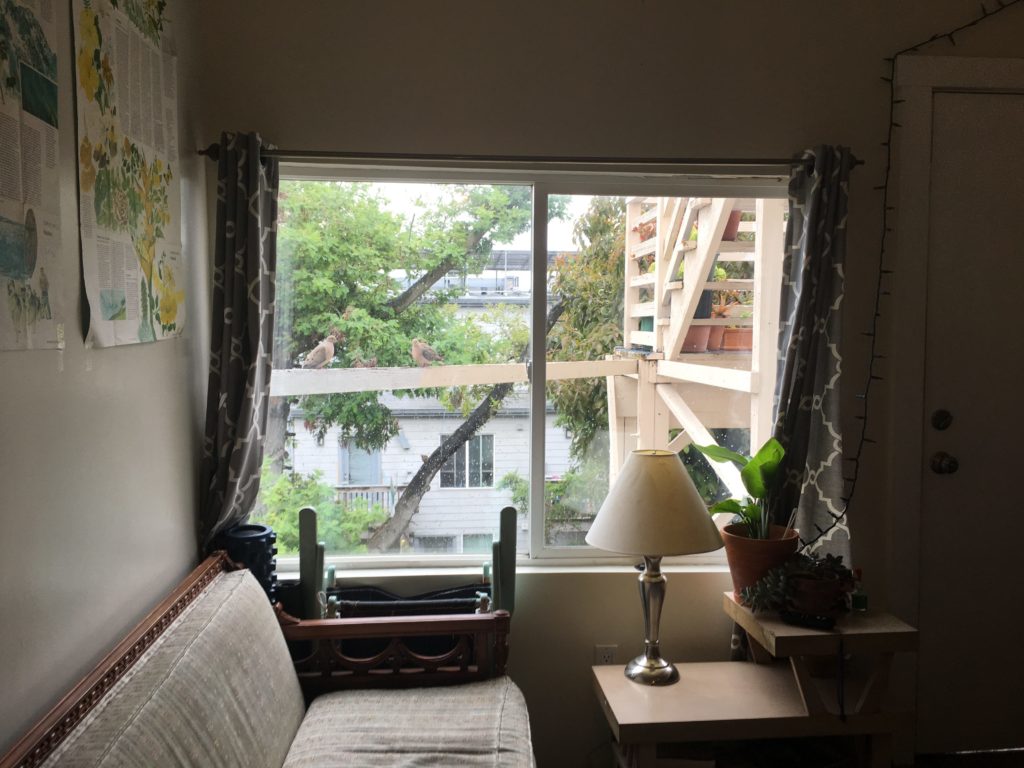
BEFORE
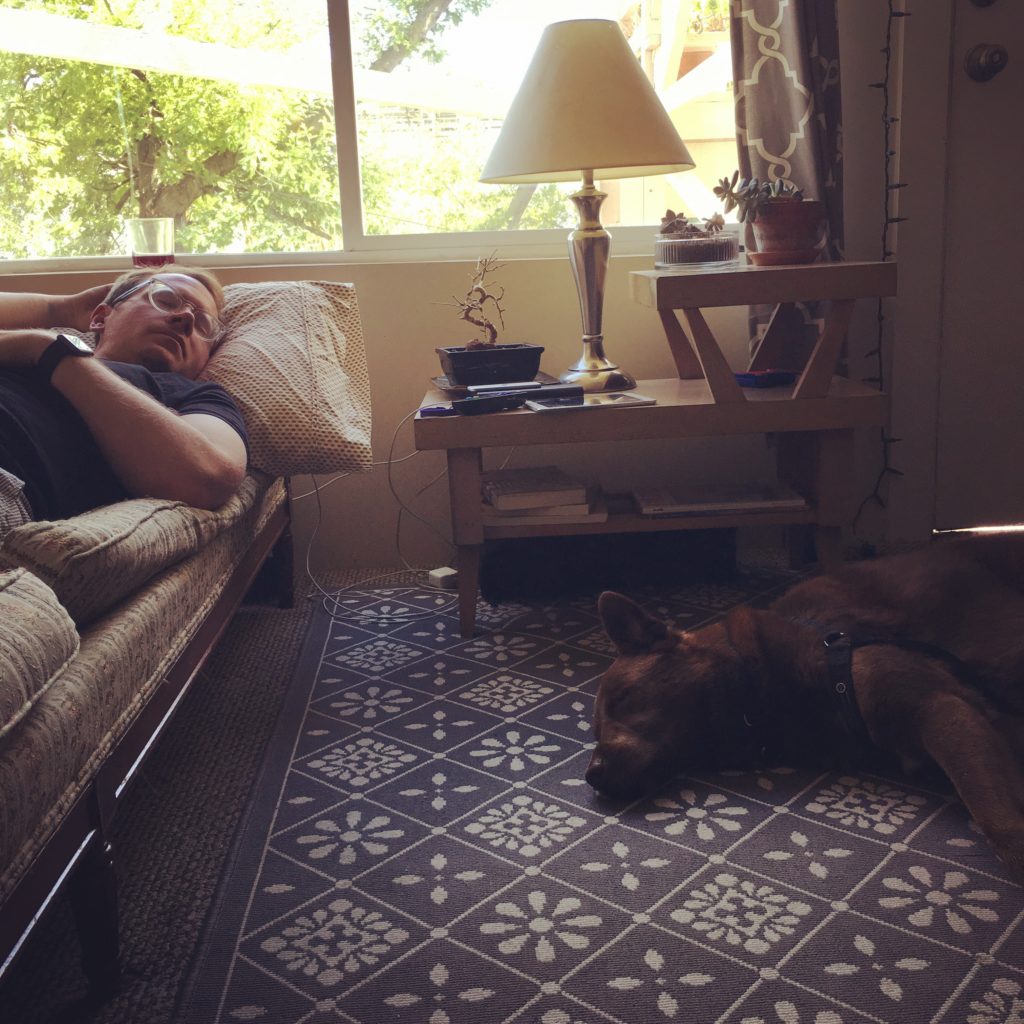
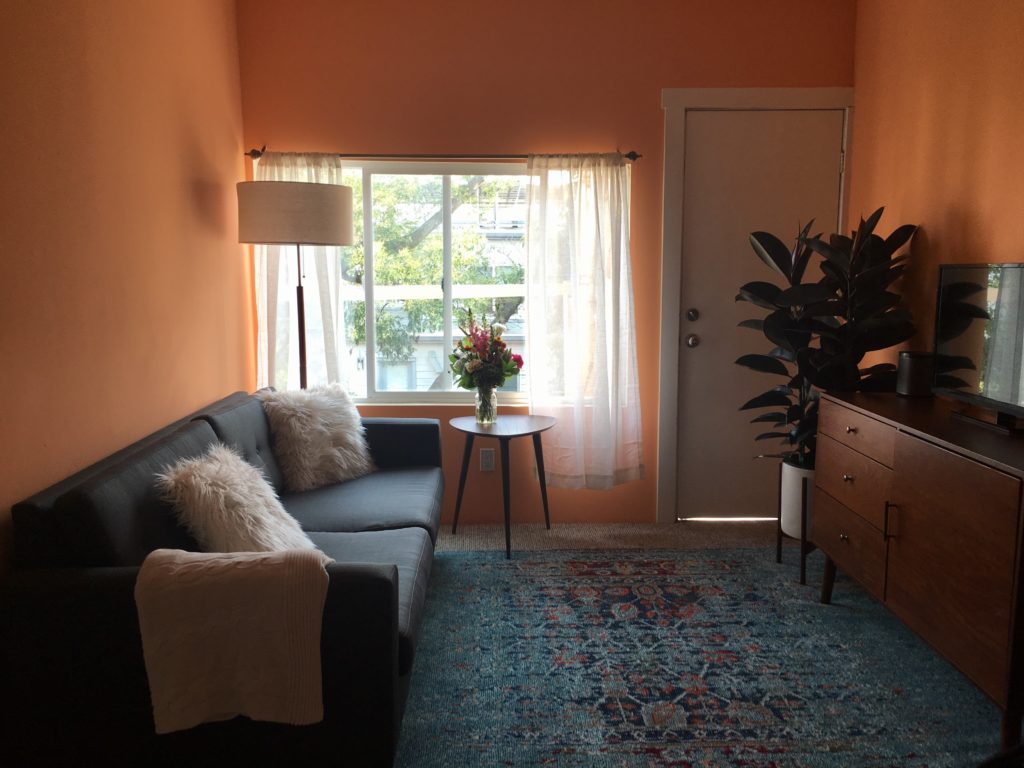
AFTER
After getting the carpets power washed and having a wonderful man named Jesus drag the couch and bookcase to the dump, we had a blank slate.
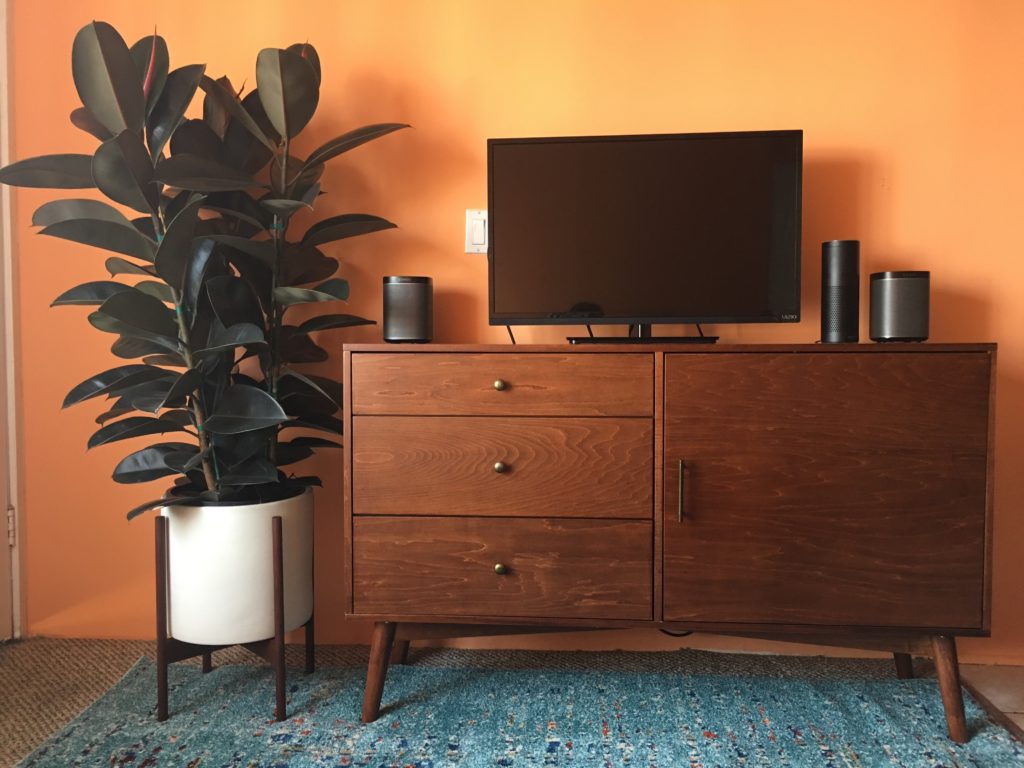
I’m not sure why, but I was stuck on the idea of an orange living room. Ryan was really stuck on mid-century modern. We both got our way. We’re still thinking about art for the wall above the couch, but for the most part, I think it’s come together. I’m  glad we went with the orange, instead of chickening out and going with a blue or a green (which also would have been lovely, but a much different vibe). It’s so punchy, and has such warmth no matter what time of day.
The couch and rubber plant came from shops in the neighborhood, but everything else we found online (Wayfair, Amazon, AllModern).
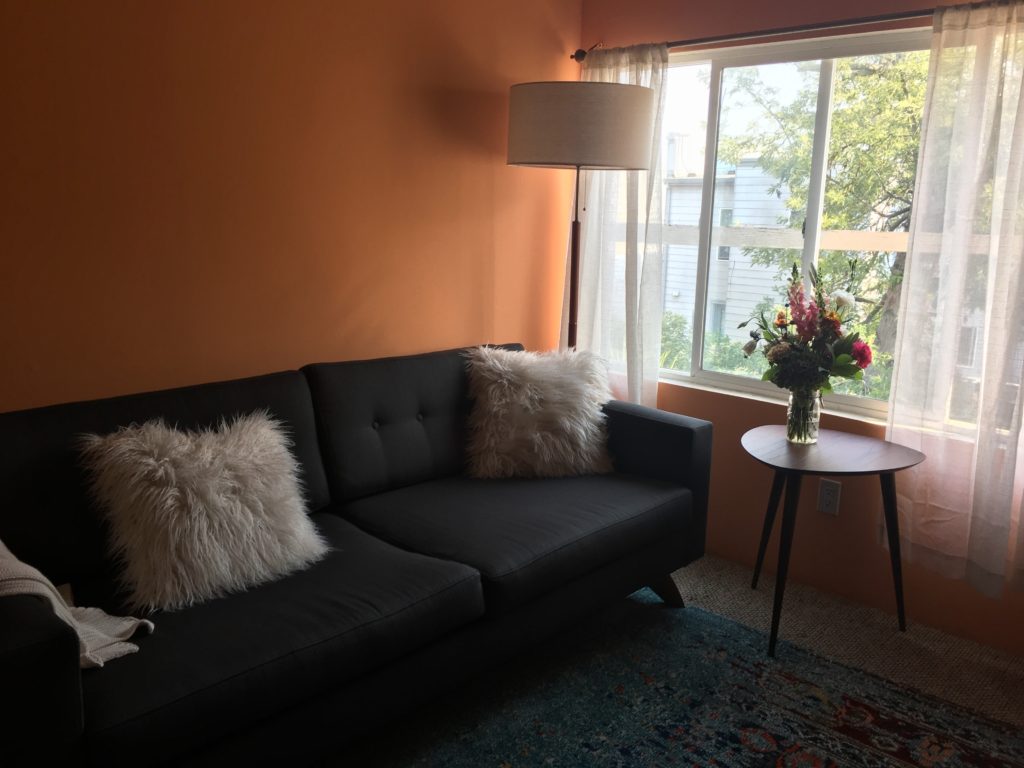
Including these ridiculous ‘Mongolian Fur pillows.’ They arrived wild and free like the pillow on the left, but after a little brushing (with Ryan’s beard brush), the pillow looked soft as an angora bunny : D.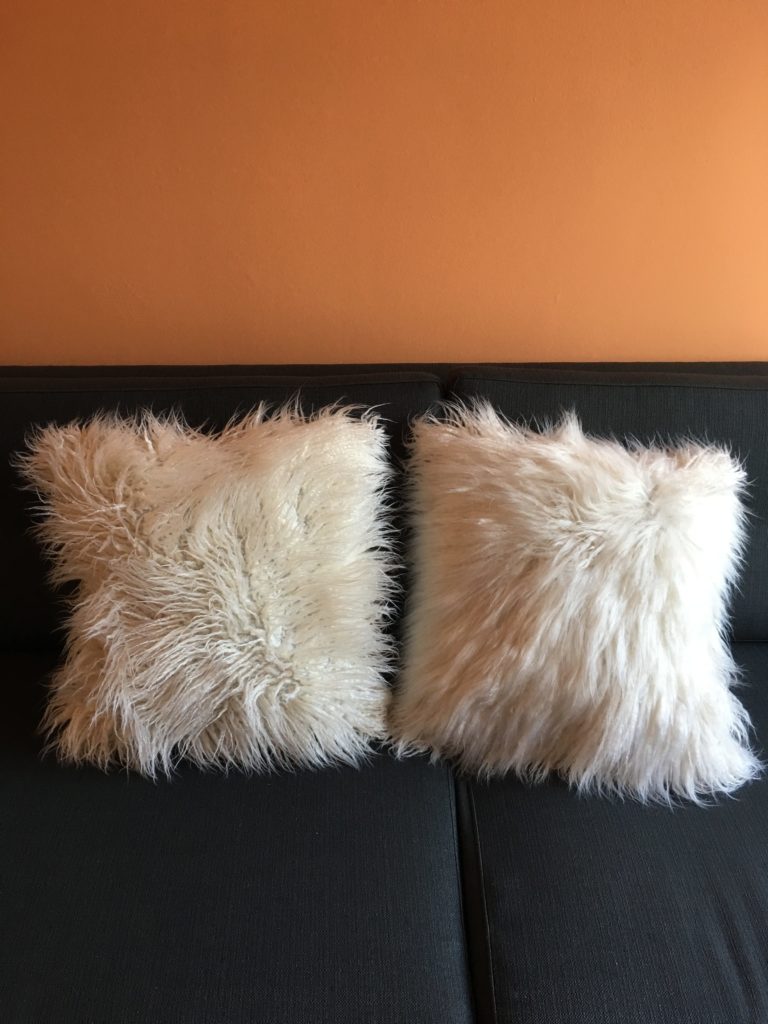
Anyways, that’s it! I’m pretty happy with how it turned out.